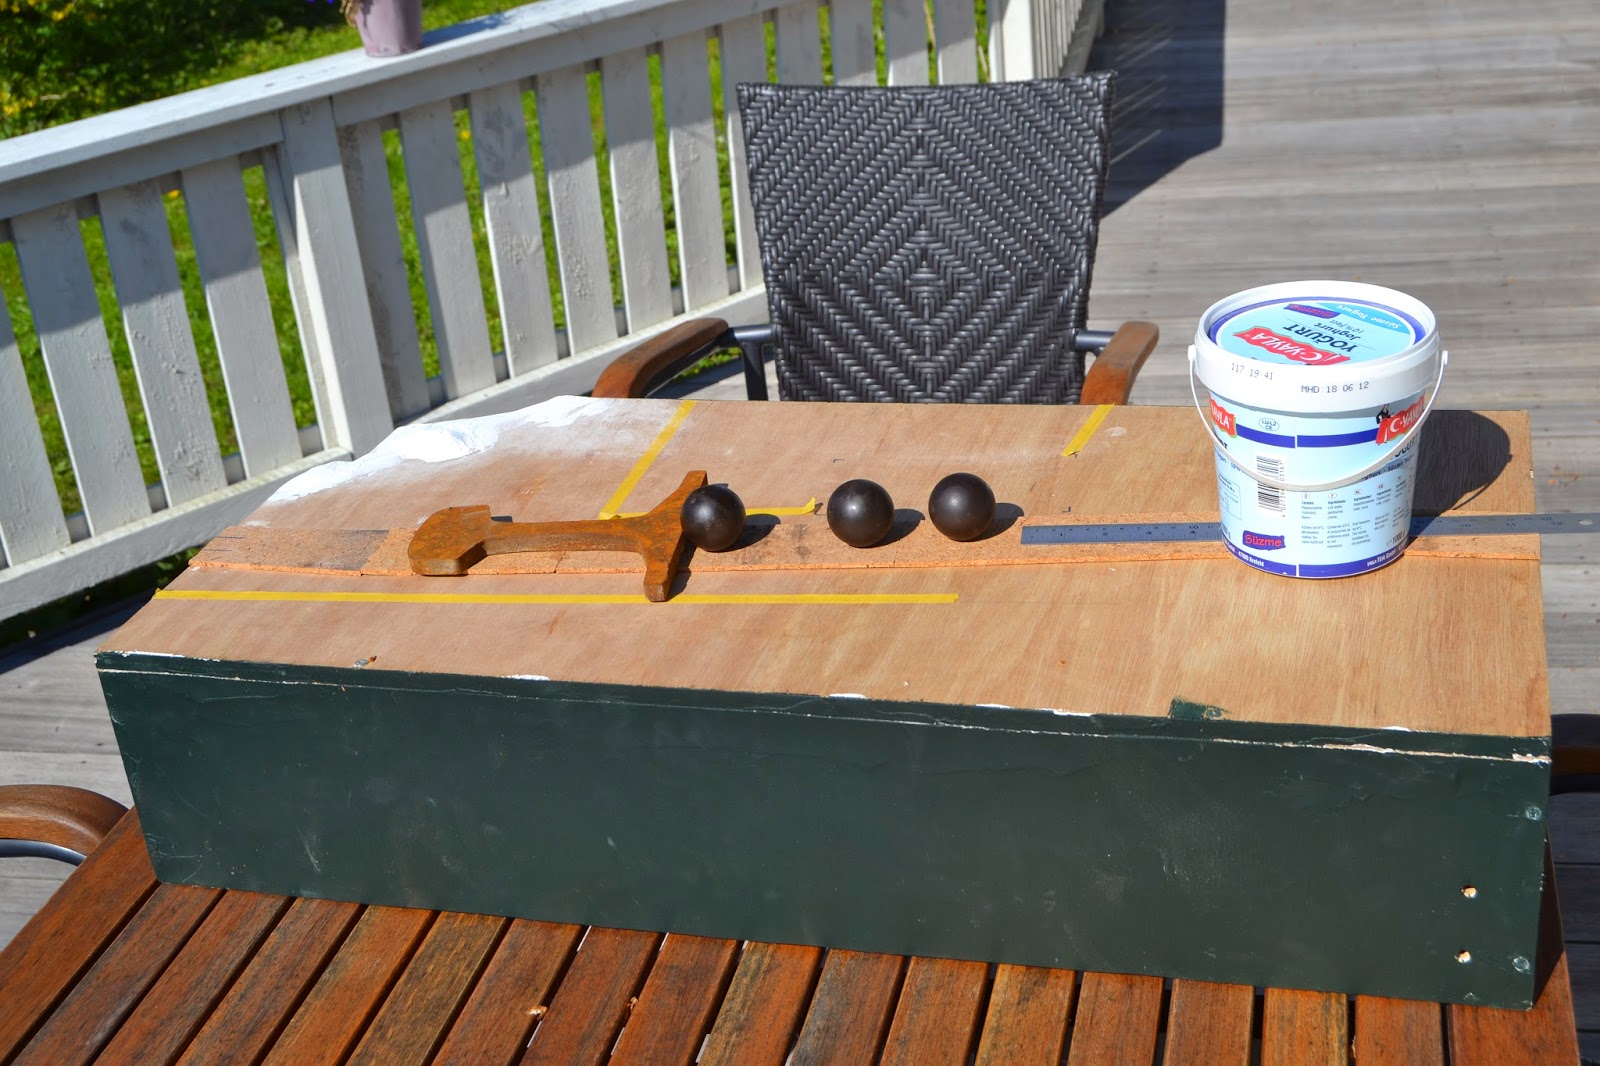
With cork underlay glued in place only too little spare time and a lack of rail spikes have prevented me from getting some track down on my new module. This week saw the post man deliver a little pack with rail spikes from KBscale and with some time to spare this weekend, I got half the track down in no time.
Most of the track on the module are steel sleepered panels from James Coldicott. I decided to make the first half length of track with wooden sleepers and Peco code 100 rail as on the neighbouring module. The transition between code 100 and the code 83 rail used in the panels was made up with a wooden sleeper fitted with brass shims to bring the code 83 rail in height with the Peco profiles. The rail ends were soldered together. The track panels are connected in pretty much the same way. A wooden sleeper under the rail ends, a slice of thin brass under both rail ends, add heat and solder and I have what I hope will be a solid connection.

Sunday 24 May 2015
Sunday 17 May 2015
Unfocused Progress (1/35)
Spring is developing in full here in Denmark and contributes to outdoor activities in the garden and on the 1:1 railway. I'm still making progress on my modelling, anyway. Unfocused it is, though,
This weekend I have been making good progress on the double cab Ford. The cargo bed is now assembled and the chassis painted. The finishing of the cab is somewhat slowed down by my ambition of fitting a three man crew to the lorry. The figures are basically done now and only needs some painting, but I haven't found out how to fit them in their seats and bring upper and lower cab parts together around them.
This weekend I have been making good progress on the double cab Ford. The cargo bed is now assembled and the chassis painted. The finishing of the cab is somewhat slowed down by my ambition of fitting a three man crew to the lorry. The figures are basically done now and only needs some painting, but I haven't found out how to fit them in their seats and bring upper and lower cab parts together around them.
Sunday 3 May 2015
Working on Module (1/35)
With most of the planning for the new module done work has now begun. I have been adapting the end profile to make it fit the bridge module. Nothing major - just five minutes with the power saw, some insulation foam, knife and plaster. After a test fit I went over the profile again and added a little more filler where needed.
I have also glued down the cork underlay. At each module end I fitted two brass screws. When laying track I solder the rail ends to the screws, thus making sure the rail ends are properly fixed and won't come off too easily in case of an accident. Next step is to lay the James Coldicott steel sleepered track panels.
I am also currently trying to cast brick wall segments from plaster in a silicone mould from Diorama Debris. I hope to use the plaster segments for the brick wall that separates Bankes Bakelit from Nystrup Gravel's track.
I have also glued down the cork underlay. At each module end I fitted two brass screws. When laying track I solder the rail ends to the screws, thus making sure the rail ends are properly fixed and won't come off too easily in case of an accident. Next step is to lay the James Coldicott steel sleepered track panels.
 |
| Silicone moulds for bricks and brick wall. |
Subscribe to:
Posts (Atom)


