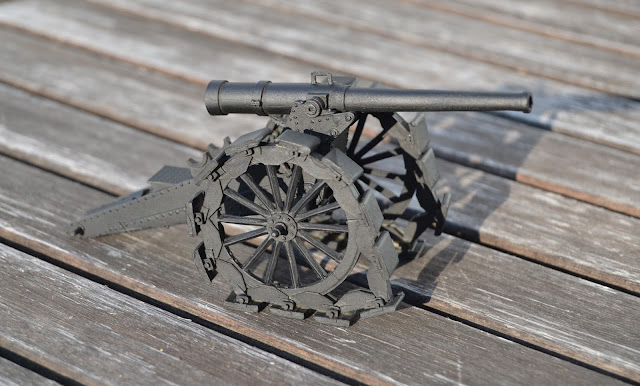
I have continued working on
the French gun for my World War 1 diorama. The gun is now completely assembled, primed and painted. The kit went together well although there was a casting seam along the barrel that I didn't succeeded getting completely rid off. I left the wheel assemblies unglued as I wanted to be able to finetune the wheels' positions when fitting the gun into its emplacement.
 |
| The gun and recoil ramps ready for primer. |
 |
| Gun primed with 'Chaos Black'. |
The cover paint was mixed from several Vallejo greys and blues with a little white added. The shoes on the wheels were air brushed a light earth colour.
 |
| The gun painted. |
With the gun well in progress I turned my attention to the diorama. I pulled out a picture frame the size of an old fashioned (or retro if you like) vinyl 33 rpm. LP record. With the glass removed it is a good starting point for small diorama in 1:35 scale - and a handy size for storage.
I played around with the gun and length of track to decide how to position them best. With everything settled I started building up trench walls and cutting timber for the gun pit.
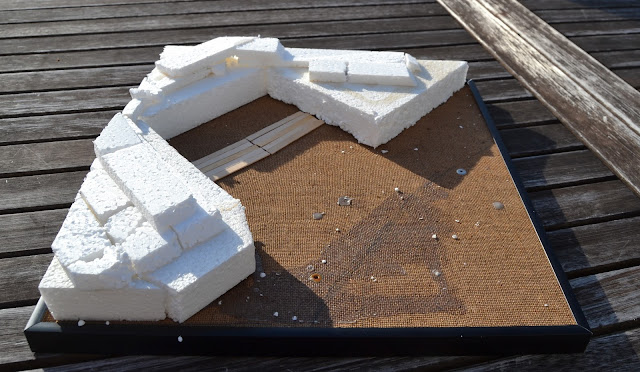 |
| Building up trench sides and test fitting floor timbers. The track will cut across the open ground in a gentle curve. |
In my research on French trench design I stumbled over a modeller - Andrew Belsey - who does the most beautiful trench dioramas.
 |
| One of Andrew Belsey's trench cross section dioramas in 1:32 scale. |
See his work on this blog. There is a lot of good tricks on how to do detailed groundwork and small details. My dioaram will
not be as finely detailed as Andrew's!


Try this pdf. It´s a good source for researching field fortifications of the western front in Europe during WWI
ReplyDeletehttp://cgsc.contentdm.oclc.org/cdm/singleitem/collection/p15040coll1/id/476/rec/1
http://cgsc.contentdm.oclc.org/cdm/compoundobject/collection/p4013coll7/id/520/rec/15